Web to Print Portal, Ordering Portal, Brand Portal, Online Marketing Portal, and more. No matter what you call it, we’ve all heard of this amazing time and money-saving online ordering system.
But once you decide you’re ready to join successful businesses who have one, how exactly do you take full advantage of it and how can you optimize it to save even more money and maximize your marketing efficiency?
Well, you’ll want to bookmark this blog because we are going to walk through what you get with your Web to Print Portal, tips on how to optimize each feature, tips on how to save the most money, ways you can increase efficiency, and so much more.
Not familiar with Web to Print Portals just yet? Find out more including what they are, how they work, and how they can benefit your campaign by clicking here.
Your Web to Print Account Users

Within your Web to Print Portal, you have complete and 24/7 control over who has access to products, you can view previous orders by all users or by department, and you can set up approval verification for pending jobs so you can approve them before they get produced.
You can also choose different levels of visibility and choose the content and products users have access to.
For example, new employees or certain departments may only have access to ordering business cards while your sales department may have access to all marketing collateral, but they can only order a certain quantity of flyers or only choose postcards in a certain size and paper stock.
Tips on How to Maximize User Efficiency:
Tip 1: If there are certain products that not all users need access to, like new employees, choose to make only the products they are able to order visible to them.
Tip 2: If you have a large company, multiple companies, or a franchise, allow other administrators access to manage certain users’ actions. For example, if you have 500 employees, it can be helpful and a time saver to allow other administrators control access as well.
Tip 3: Choose the billing method that makes the most sense for your company. Your printer can require a credit card for some account users to pay as they order or send invoices for others to pay later.
Your Product and Design Options
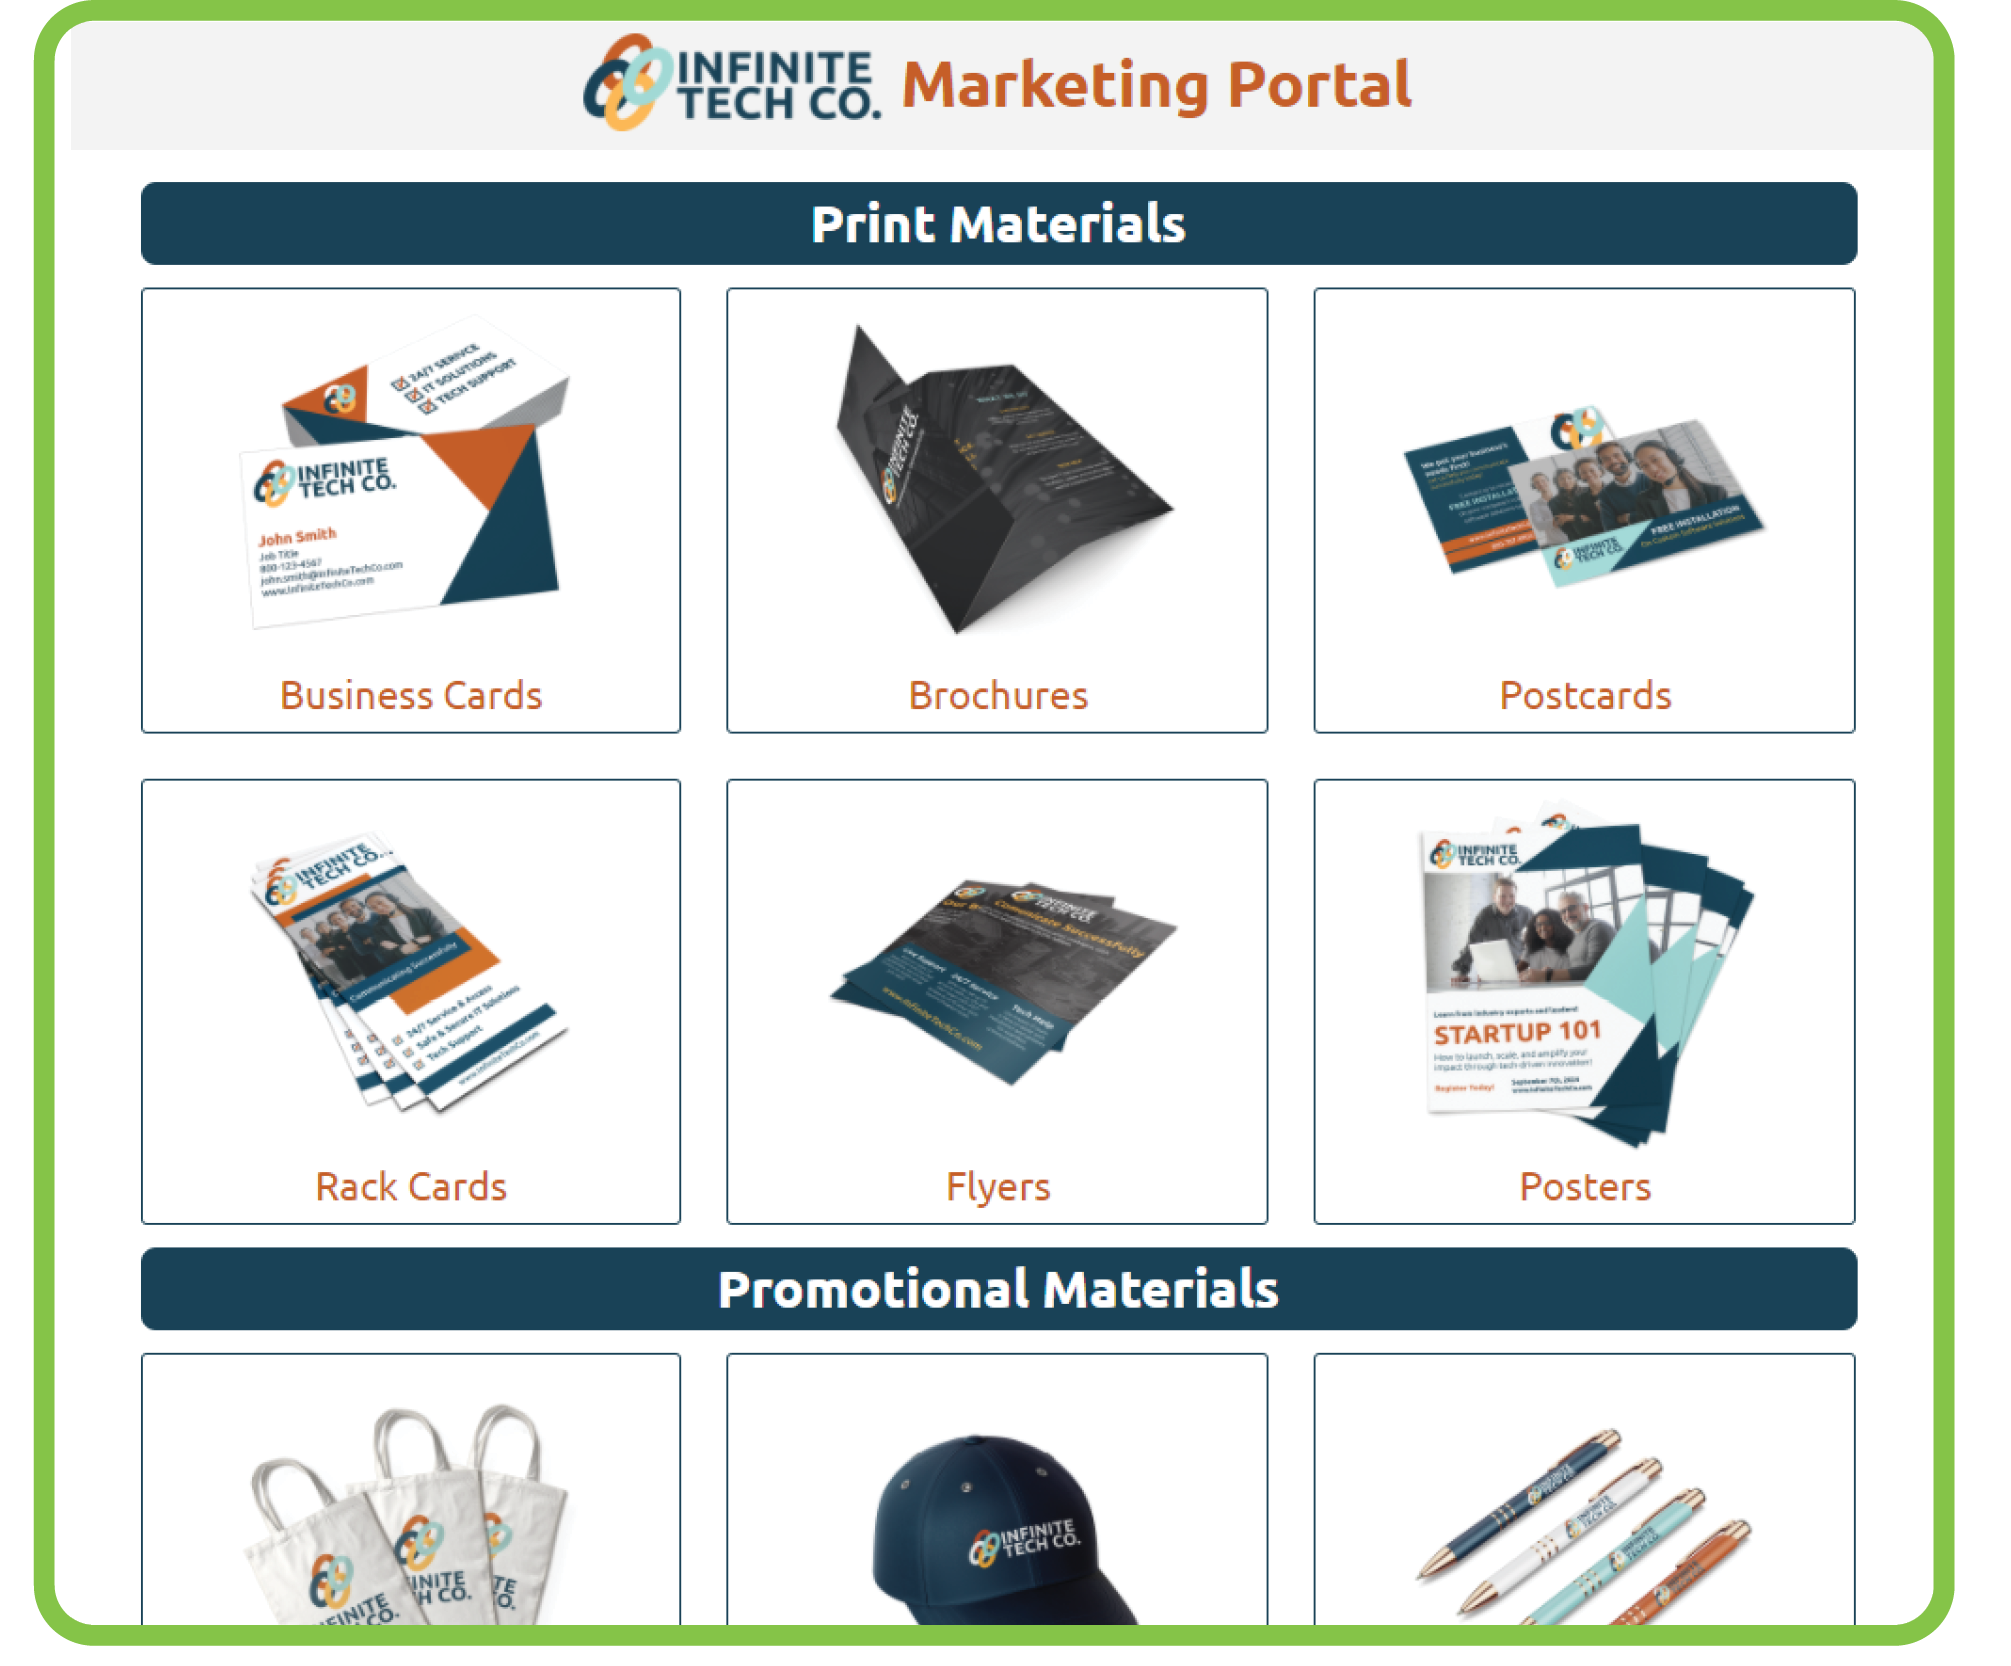
The products you choose to display in your Web to Print Portal can be as open-ended or restricted as you’d like.
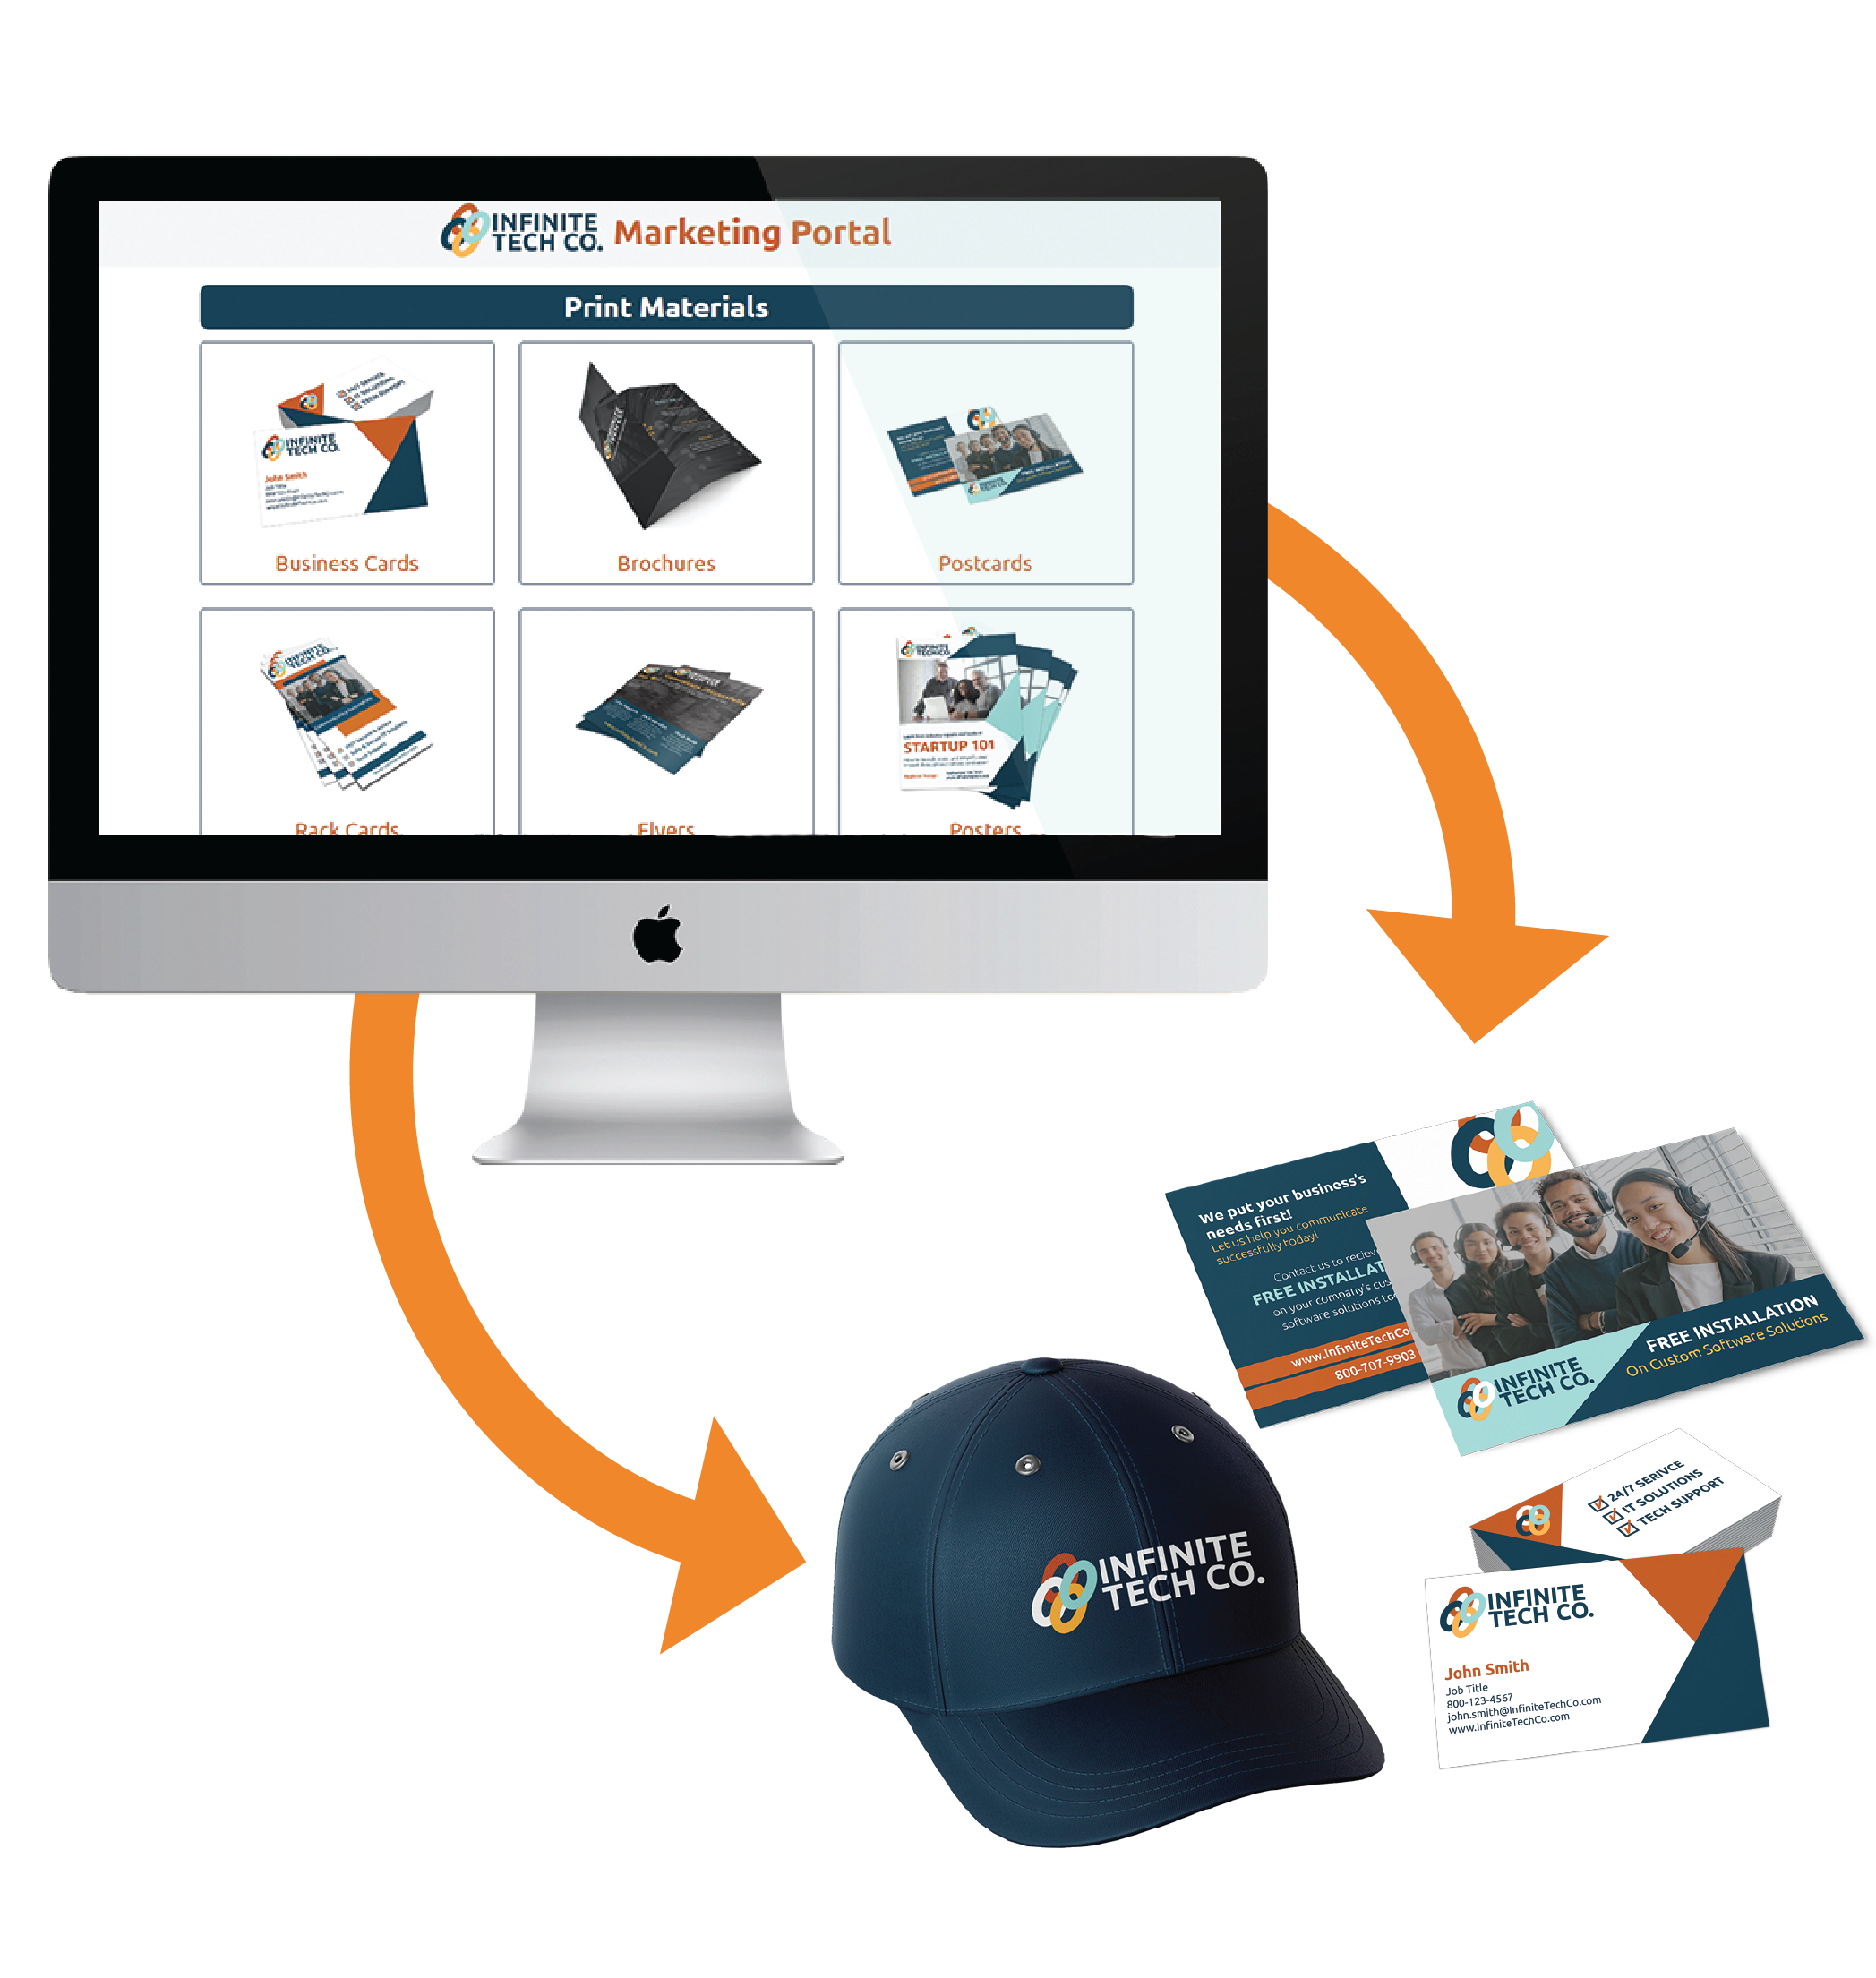
For example, you could include your company’s business cards, catalogs, rack cards, t-shirts, mugs, pens, and any or all other marketing assets your company uses. Or you could simply choose to limit your products to just business cards.

You can even update your products and designs as you need to accommodate your holiday marketing messages or spring catalog.
You have an unlimited number of changes and updates you can make so even if you go through a rebranding, you can update all designs and materials to fit your new brand identity.
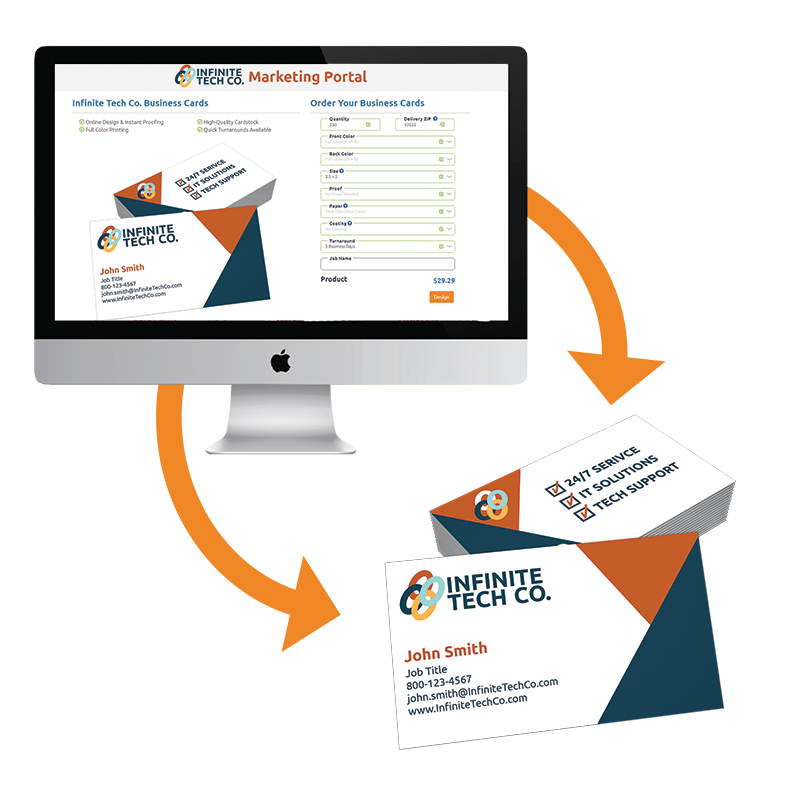
For your products, you can pre-select options for paper, coating, size, color, etc., or hide options entirely so, for example, users can only place orders that fit the size, fold, and paper stock you have set in place.
You also have endless customization capabilities using variable inputs. This capability allows your users to change elements like names, phone numbers, and emails on your product options but your branded design remains consistent.
Tips on How to Optimize Your Products and Designs:
Tip 1: Take advantage of your Brand Portal’s customization capabilities. For example, if you have multiple locations and have a promotional brochure, allow there to be a section where the address can be changed or even a few image options to choose from that reflect different regions. This will ensure that each brochure ordered represents its certain location while also consistently representing and protecting your overall brand.
Tip 2: Save even more time by pre-printing and inventorying your products. If your Portal provider is like Kingston Printing, they’ll pre-print any item in any quantity you need and store them for you, so they are ready when you need them.
Tip 3: Take advantage of your stored job history. Each user has a “Your Jobs” page within their account where they can quickly reorder past orders and view job statuses. This helps speed up the entire process and helps keep track of when items will arrive.
Your Web to Print Portal Domain
Your brand extends far beyond your product designs. Your entire Web to Print Portal can provide several levels of branding, including subdomains that force your branding across the site.

Not only can images of your branded products be displayed and have their own separate pages for ordering and personalizing, but your logo can be displayed, and your brand’s colors can be spread across your portal along with any other branded elements you’d like.
Also, Web to Print Portal systems are designed to be accessible from any device and any location. So even your remote employees or employees who are always on the go can easily place orders wherever and whenever it’s convenient for them.
Tips on Optimizing Your Branded Domain:
Tip 1: Design your portal to align with your company’s brand and style. Your printer just needs a few things including your logo, colors, and other branded elements you’d like included and they can create a Brand Portal that is easy for users to navigate while reinforcing your brand’s identity.
Tip 2: Include steps on how your portal works within your brand guidelines. We’ll go into more detail on this later, but your printer will even help set up a video, notes, an email message, or anything else you may need to make it even easier for your company to optimize your Web to Print Portal.
How Much a Web to Print Portal Costs

When it comes to the cost of your Web to Print Portal, there is the setup cost, and then the cost of actually ordering products from your portal.
The setup cost is typically limited to the setup of new designs, the functionality of your product designs, and any updates to existing product designs. The setup for an online design item is on average between $100-$250 depending on certain added functions like variable inputs, or other features you wish to include.
After your Web to Print Portal, or Ordering Portal, is setup the main cost is determined by the actual products you and other users purchase. And billing for orders can be controlled by your organization’s account or based on individual users.
Tips on Keeping Costs Low:
Tip 1: Have multiple designs ready to go because when your printer is able to set up several designs at once, it decreases the cost per design as they are able to set them all up at the same time.
Tip 2: Submit your designs to your printer as InDesign Packages (this includes fonts, links, etc.) This will keep the setup price on the lower end as it saves a lot of time.
Tip 3: When choosing your Web to Print Portal products, choose from your printer’s standard sizes and paper stocks. Your printer will work with you on pricing for any custom products, however, standard products will always be cheaper.
Your Web to Print Portal Support Team

Web to Print Portals, or Online Brand Portals, are designed to make ordering and managing your marketing materials as easy as possible. But that doesn’t mean you don’t need an awesome support team.
If your Web to Print Portal provider is like Kingston Printing, they’ll have a support team available to you for any needs. This includes analysis to help you determine what marketing assets are suited best for your company’s portal, recommendations for streamlining your processes, a full staff of programmers and representatives that are available when you have questions or need assistance, and so much more.
Tips On How to Use Your Support Team:
Tip 1: Some Ordering Portal providers, like Kingston Printing, will create a custom demo video that walks through how to use your portal which you can even share with your team and other users who have access to your portal. So, if you haven’t chosen a Portal provider just yet, it’s a good idea to consider choosing one that will take extra steps like these to make sure you’re getting everything you can out of your Web to Print Portal.
Tip 2: Don’t ever hesitate to reach out. Your printer has a department specifically for portal implementation and sales representatives, a customer service team, and a production team who are all trained on new portals, so they all are very familiar with yours and are available to assist you in any way.
Sharing Your Portal with Your Team
To optimize your marketing efficiency with your Web to Print Portal, you’ll need to share it with your team and all users you have allowed access.
This can be challenging, especially when you have multiple locations, but it needs to happen. Otherwise, your company won’t know they have this marketing tool and will continue to order materials using the old, expensive, slow, and inconsistent way.
Tips On How to Invite Your Team to Your Portal:
Tip 1: Ask your Web to Print provider about options they have. At Kingston Printing, we often help our portal customers send out an email which includes a link to their Brand Portal along with steps on how to log in and place orders. This can include just an email template that you can send out or we are happy to send it out for you.
Tip 2: Leave it to your printer to help your users. Portals are designed to make ordering simple, but if a user needs some help figuring out the design tool, or navigating through the portal, your Web to Print Portal provider is here to help and can be reached at any time by phone, email, or live chat.
Conclusion:
Web to Print Portals are designed to make ordering and managing marketing assets easier, they are built to save you time and money, and they protect your brand through consistency.
But once you take advantage of a private online marketing storefront like a Web to Print Portal, these tips included in this blog will help you optimize your company’s portal so you can maximize your marketing efficiency, save the most money, and protect your brand effectively.
If you haven’t started utilizing a Web to Print Portal, click the button to schedule a free demo today!
Schedule a Demo Today!


